How To Schedule Multi-Image Story Posts To Instagram
Also, check out our steps for posting single-image and single-video Story Posts.
Instagram Stories are a fantastic way to bond with your audience in an authentic and genuine way and creating and scheduling an Instagram Story takes just a few steps in SmarterQueue 💪
For all Instagram profile types, you will need the SmarterQueue Mobile App to publish your multi-image Story posts through our quick notification workflow (🔔).
The App will show your posts as soon as they've reached their scheduled posting times, and a notification has been received, so you can finalize posting.
In this Article
- How To Create Your Instagram Multi-Image Story Post In SmarterQueue
- How To Publish Your Multi-Image Story Post Via The SmarterQueue iOS App
- How To Publish Your Multi-Image Story Post Via The SmarterQueue Android App
How To Create Your Instagram Multi-Image Story Post In SmarterQueue
With SmarterQueue you can easily create and publish Instagram single-image Story posts.
1. Click "Create a Post" to open the Post Editor.

2. Next, choose a Category.

Note: Be sure to select a Category you've enabled for your Instagram Profile!
3. Then select the Instagram Profile you'd like to create a post for.

Note: Instagram Profiles that will publish via the notification workflow will be marked with a bell glyph (🔔). Keep in mind that multi-image Story posts can not be published directly, so the notification workflow will apply for all selected profiles. Still, read more about the benefits of switching to and using a Creator or Business profile.
4. You will now see an option to select the "Instagram Post Type". Select "Story".

This will update the Preview pane on the right-hand side to show your future Post in the Story format.
Note: Switching to Story not only ensures the posts are published correctly, but will also change how your content is displayed when using the Visual Instagram Planner. Stories will show above your feed inside of circle icons instead of crowding the feed. They will also be displayed as Story posts in the Queue, to help you easily keep track of things.
5. Write your caption and add your media.

If your image or caption isn't formatted or positioned exactly as you'd like for the Story, rest assured you'll be able to adjust this later! 💪 Right now, all you need to focus on is adding the content you'd like to the schedule.
Later on, when it's time to post, your media and caption will be pulled into the Instagram app where you'll then be able to use the stories editor to crop the image, zoom in or out, apply any stickers, filters, reposition and edit the caption, or use any other fun effects before publishing!
6. Normally this is where we'd select the "Instagram Publishing Method" for our post, but all multi-image Story posts will need the SmarterQueue Mobile App to be published.

By default, all posts will have the "Attempt Direct Publishing” option selected. Leaving this on will not affect your post in any way. SmarterQueue will try to directly publish your post where possible. Since that won't be possible for multi-image Story posts, we'll fall back to the notification workflow even if you don't choose "🔔 Get a Reminder".
7. Once you're done creating your post, save it to your Queue.

Note: While in the Queue, you will be able to spot your Instagram Stories right away, as they appear as circle icons.

How To Publish Your Multi-Image Story Post Via The SmarterQueue iOS App
Multi-image Story posts must be published through our quick notification workflow (🔔), so be sure to download the SmarterQueue Mobile App for your iOS device, enable notifications, and check the steps below to easily publish your multi-image Story posts 💪
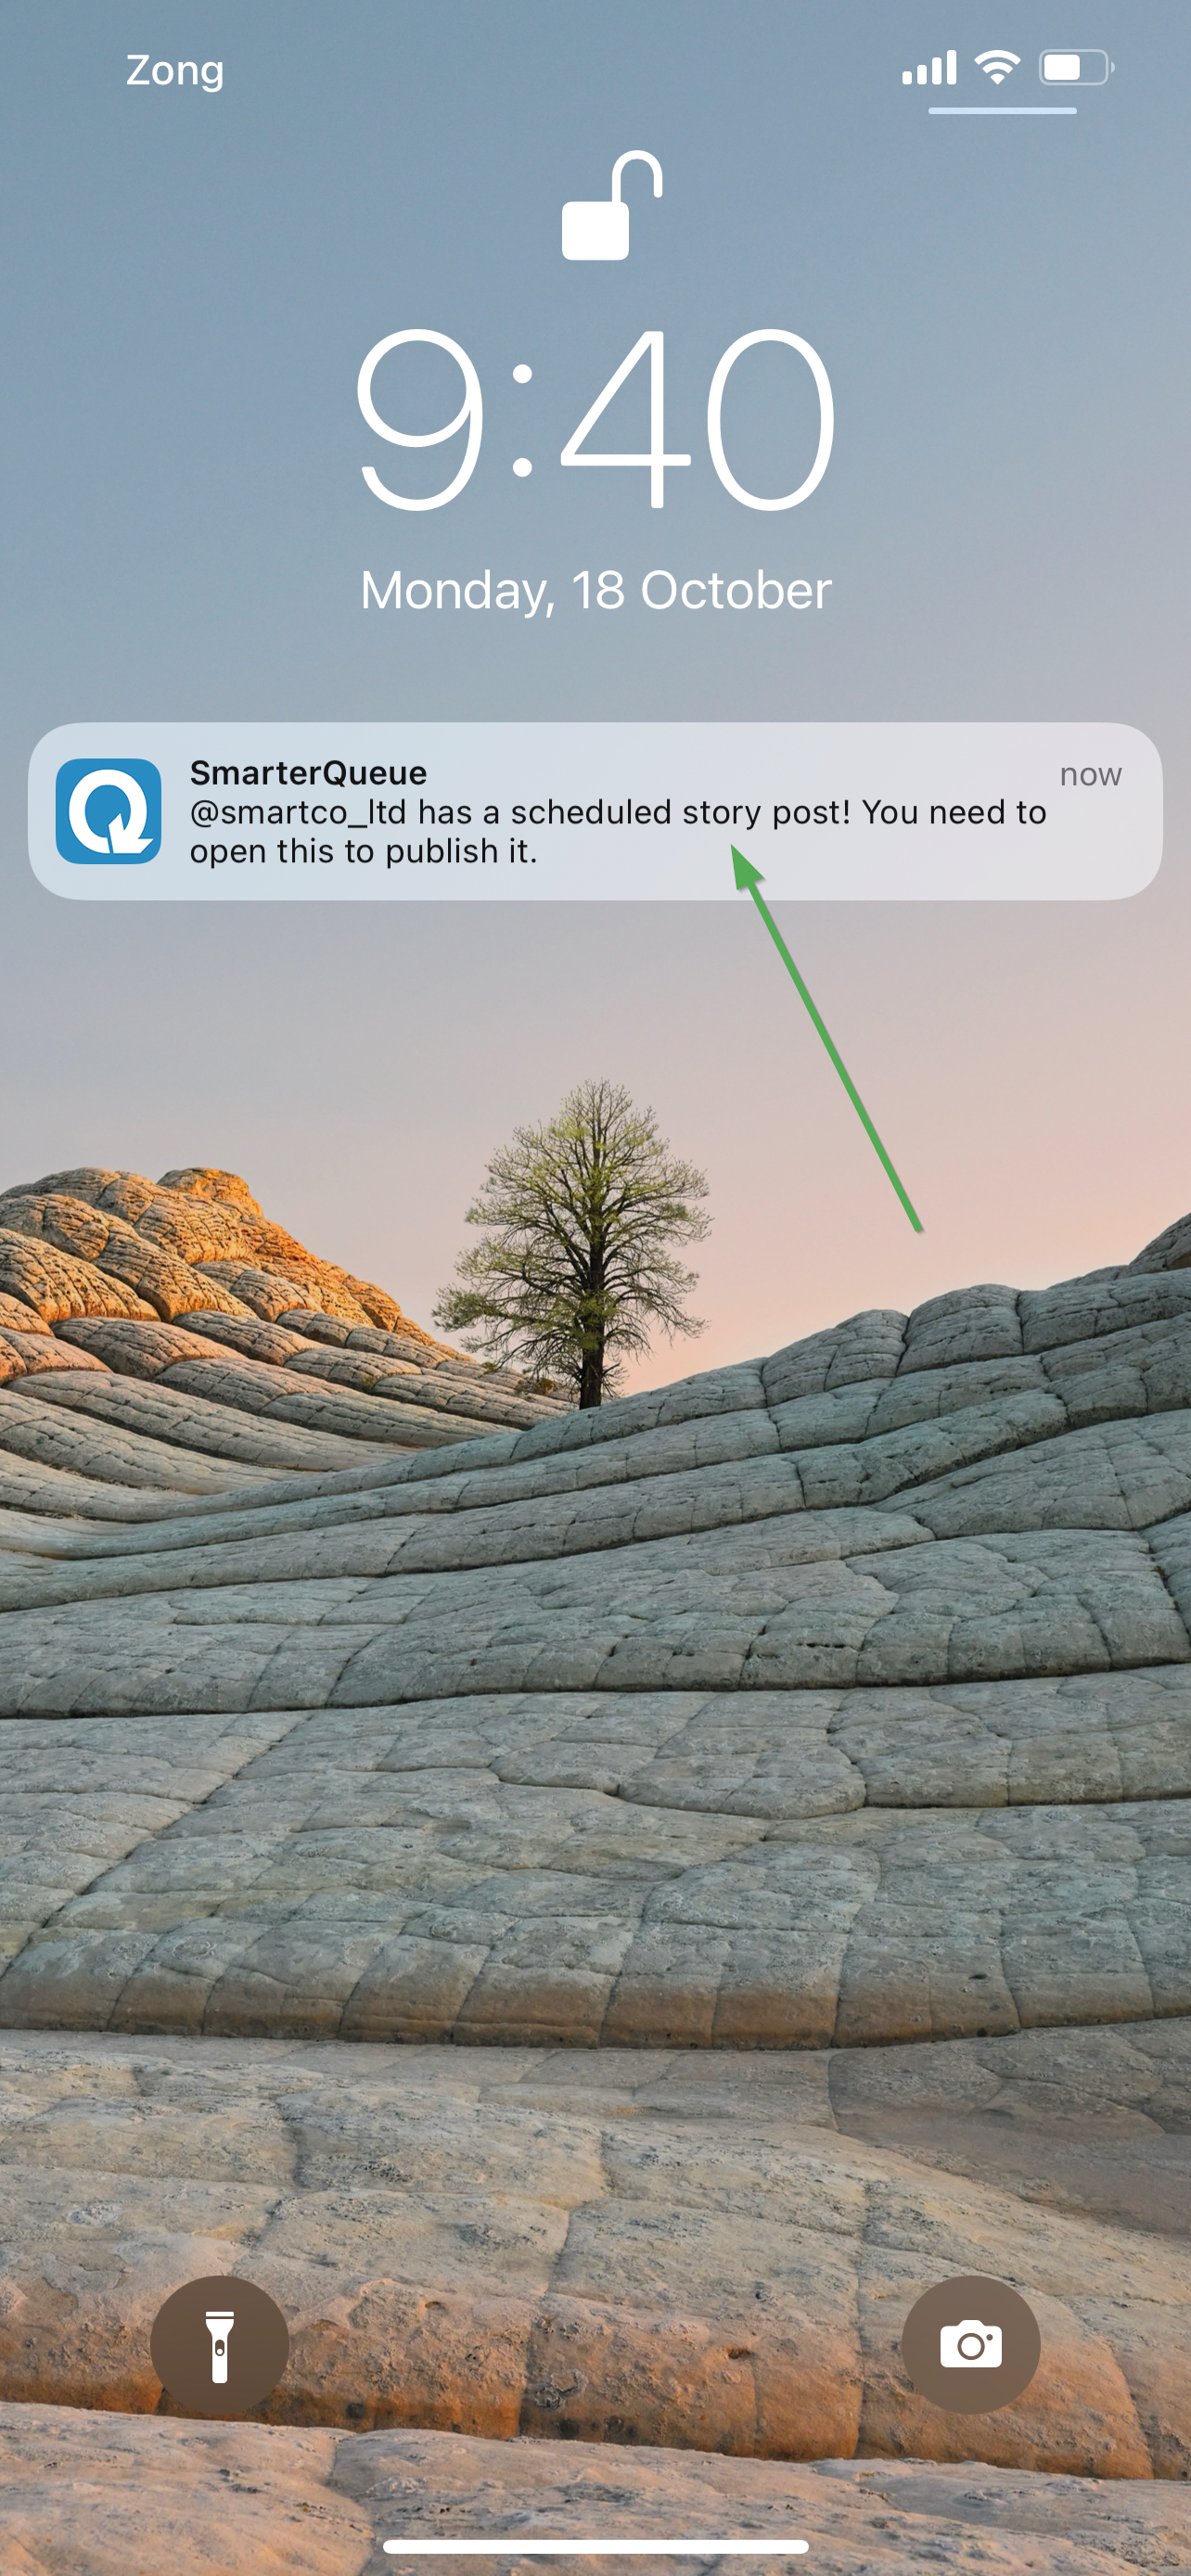
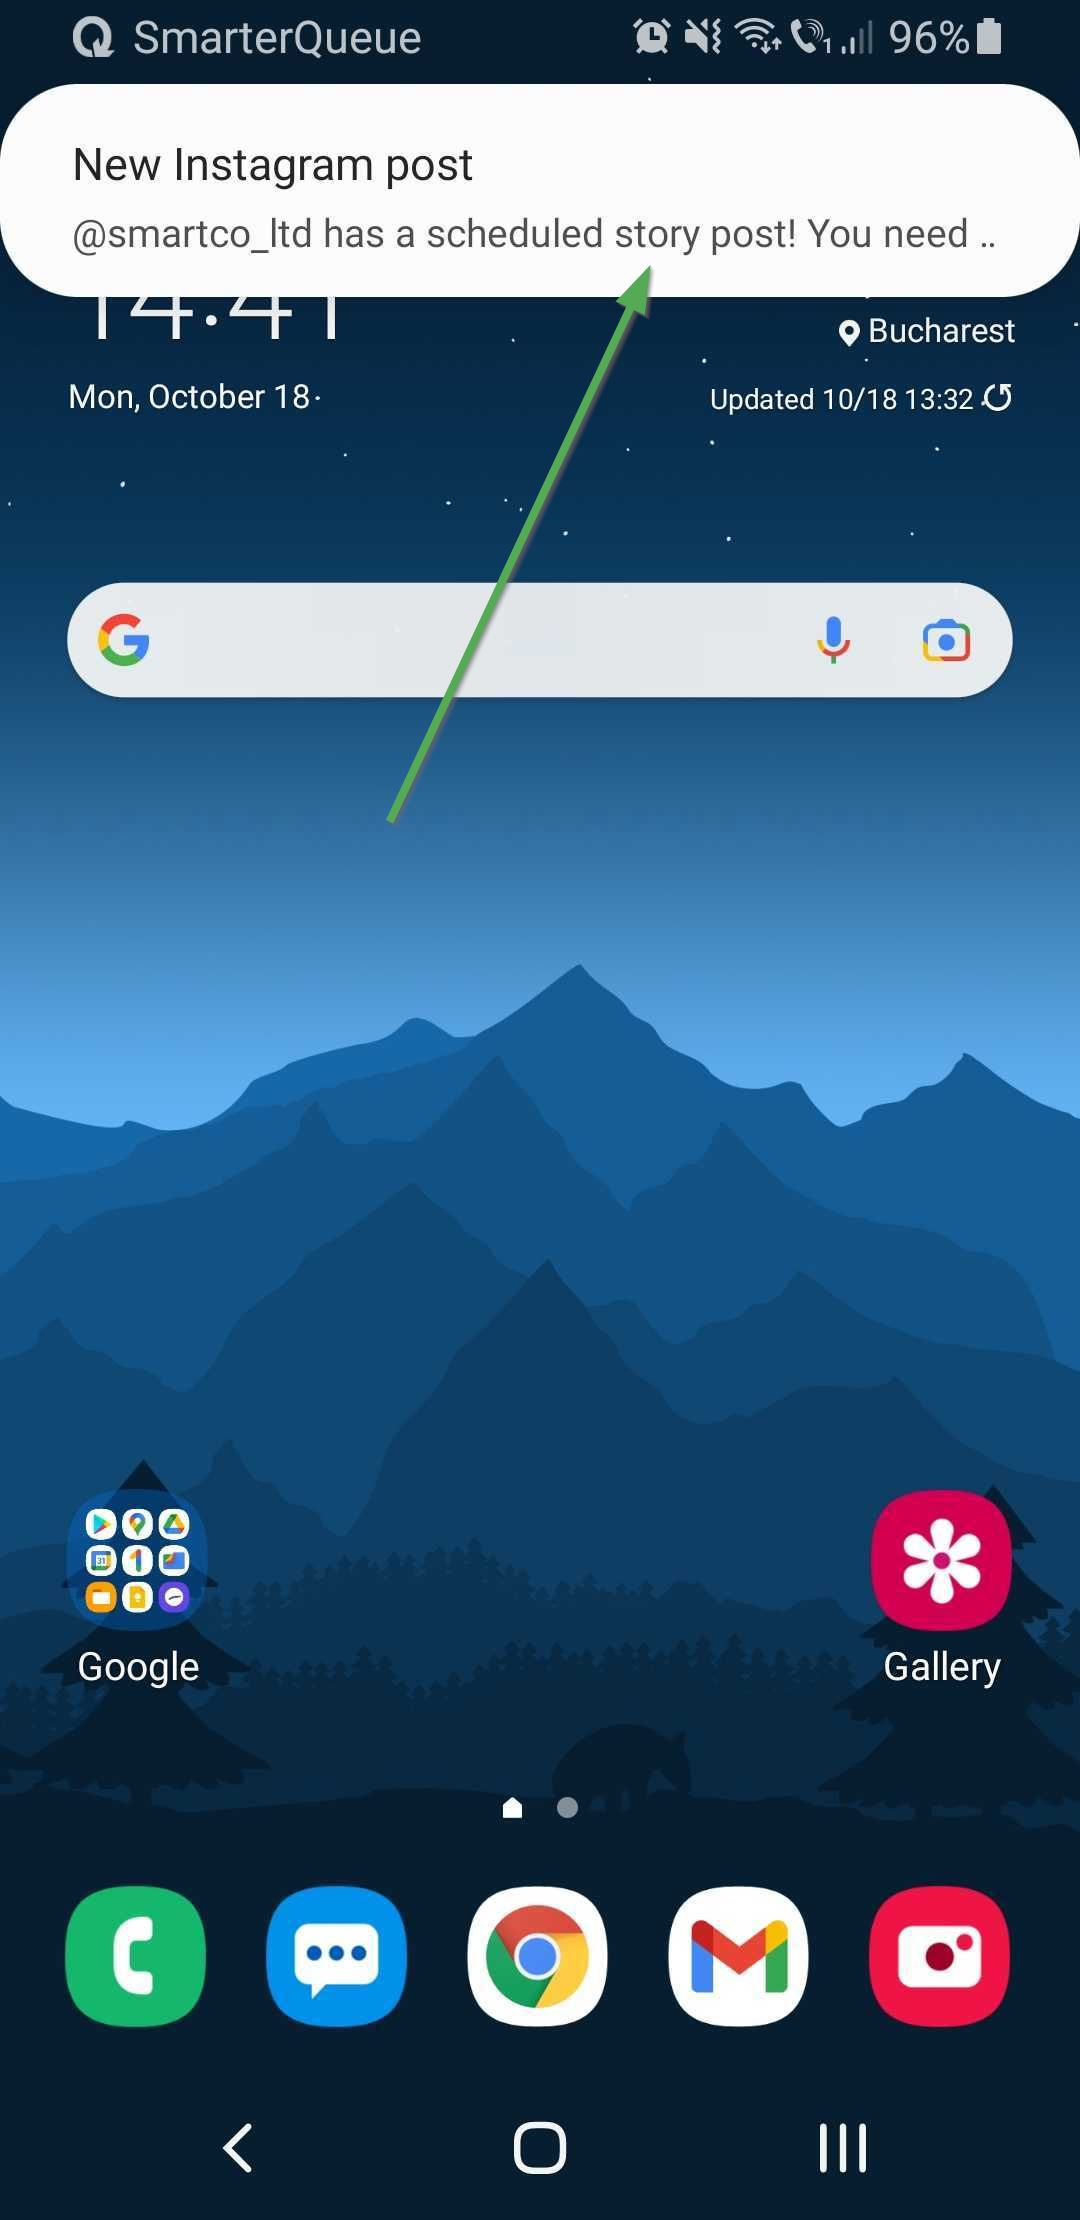
1. When it's time to post your Story you'll receive a push notification on your mobile device. Tap it to open the app.
Note: You'll want to ensure that you're logged into the Instagram profile you want to publish the post to first.
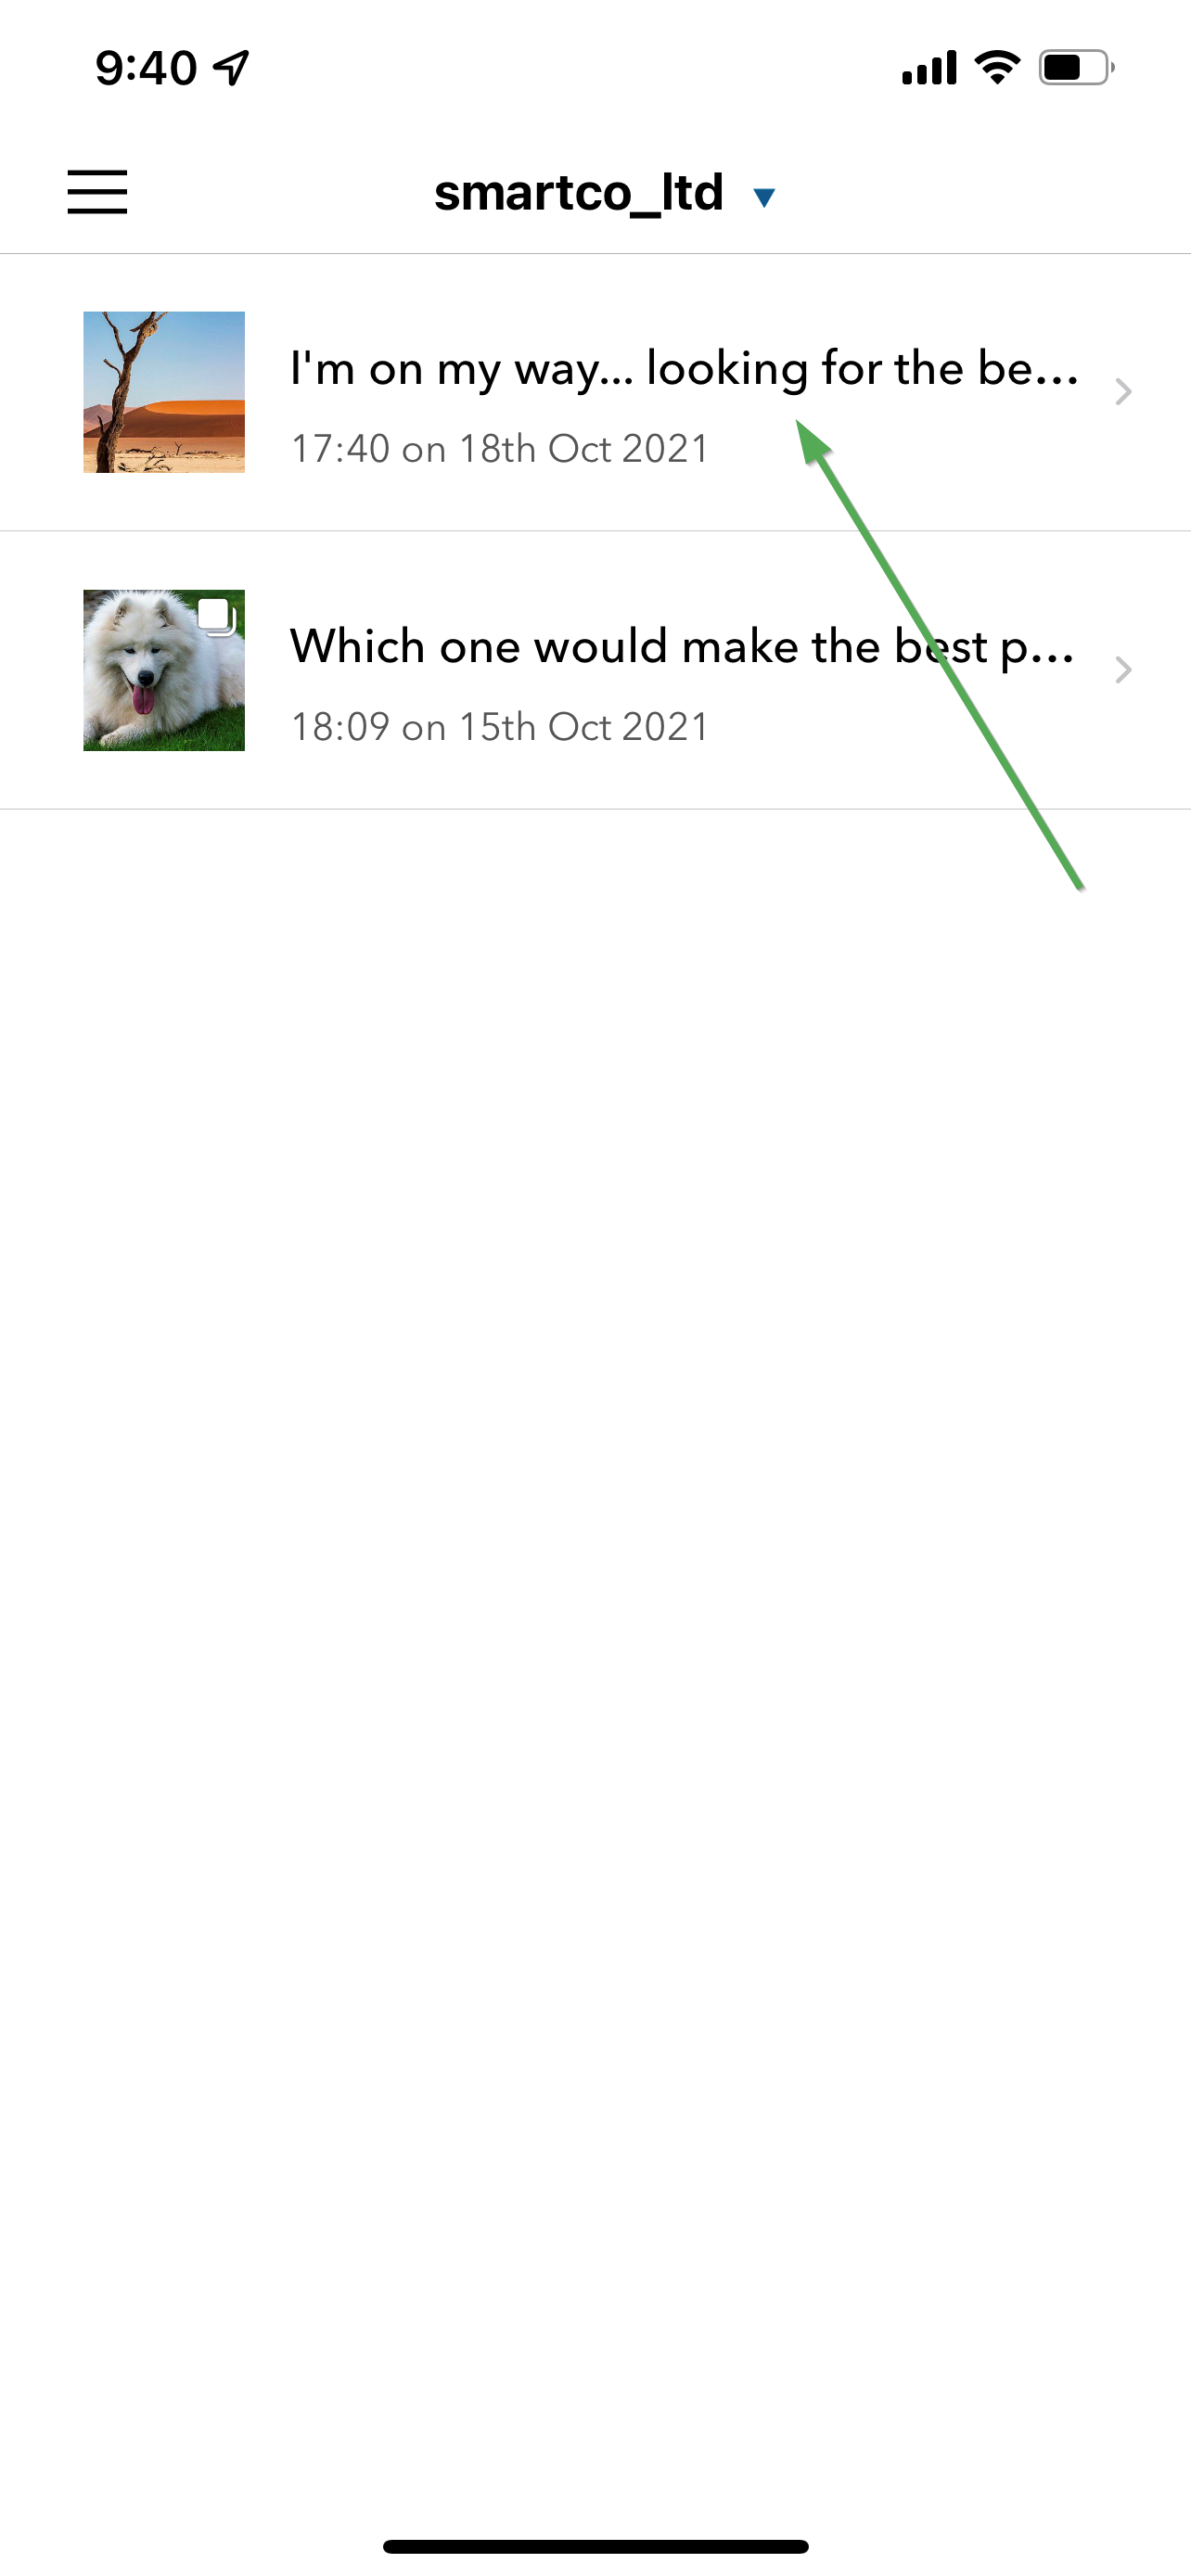
2. Tap the corresponding Post to view the preview (this step might be skipped automatically if you access the SmarterQueue Mobile App through the notification).
3. You'll see all of the images you added to this Story post in the preview. Tap "Post To Instagram".

Note: Your caption will be copied to the clipboard
4. The Instagram app will open, showing one of the images from the multi-image Story post.
Select the "X" in the top-left corner, then press the "+" icon to create a new Story post in your Instagram app.

5. Press on "Select", then select all of the images that were part of your Story post and press "Next".

6. You'll see all of the images displayed as individual stories and you'll be able to make edits to each one before publishing: apply any effects, filters, text, or other fun features to your Story before publishing!
Once you're done, publish your Story!
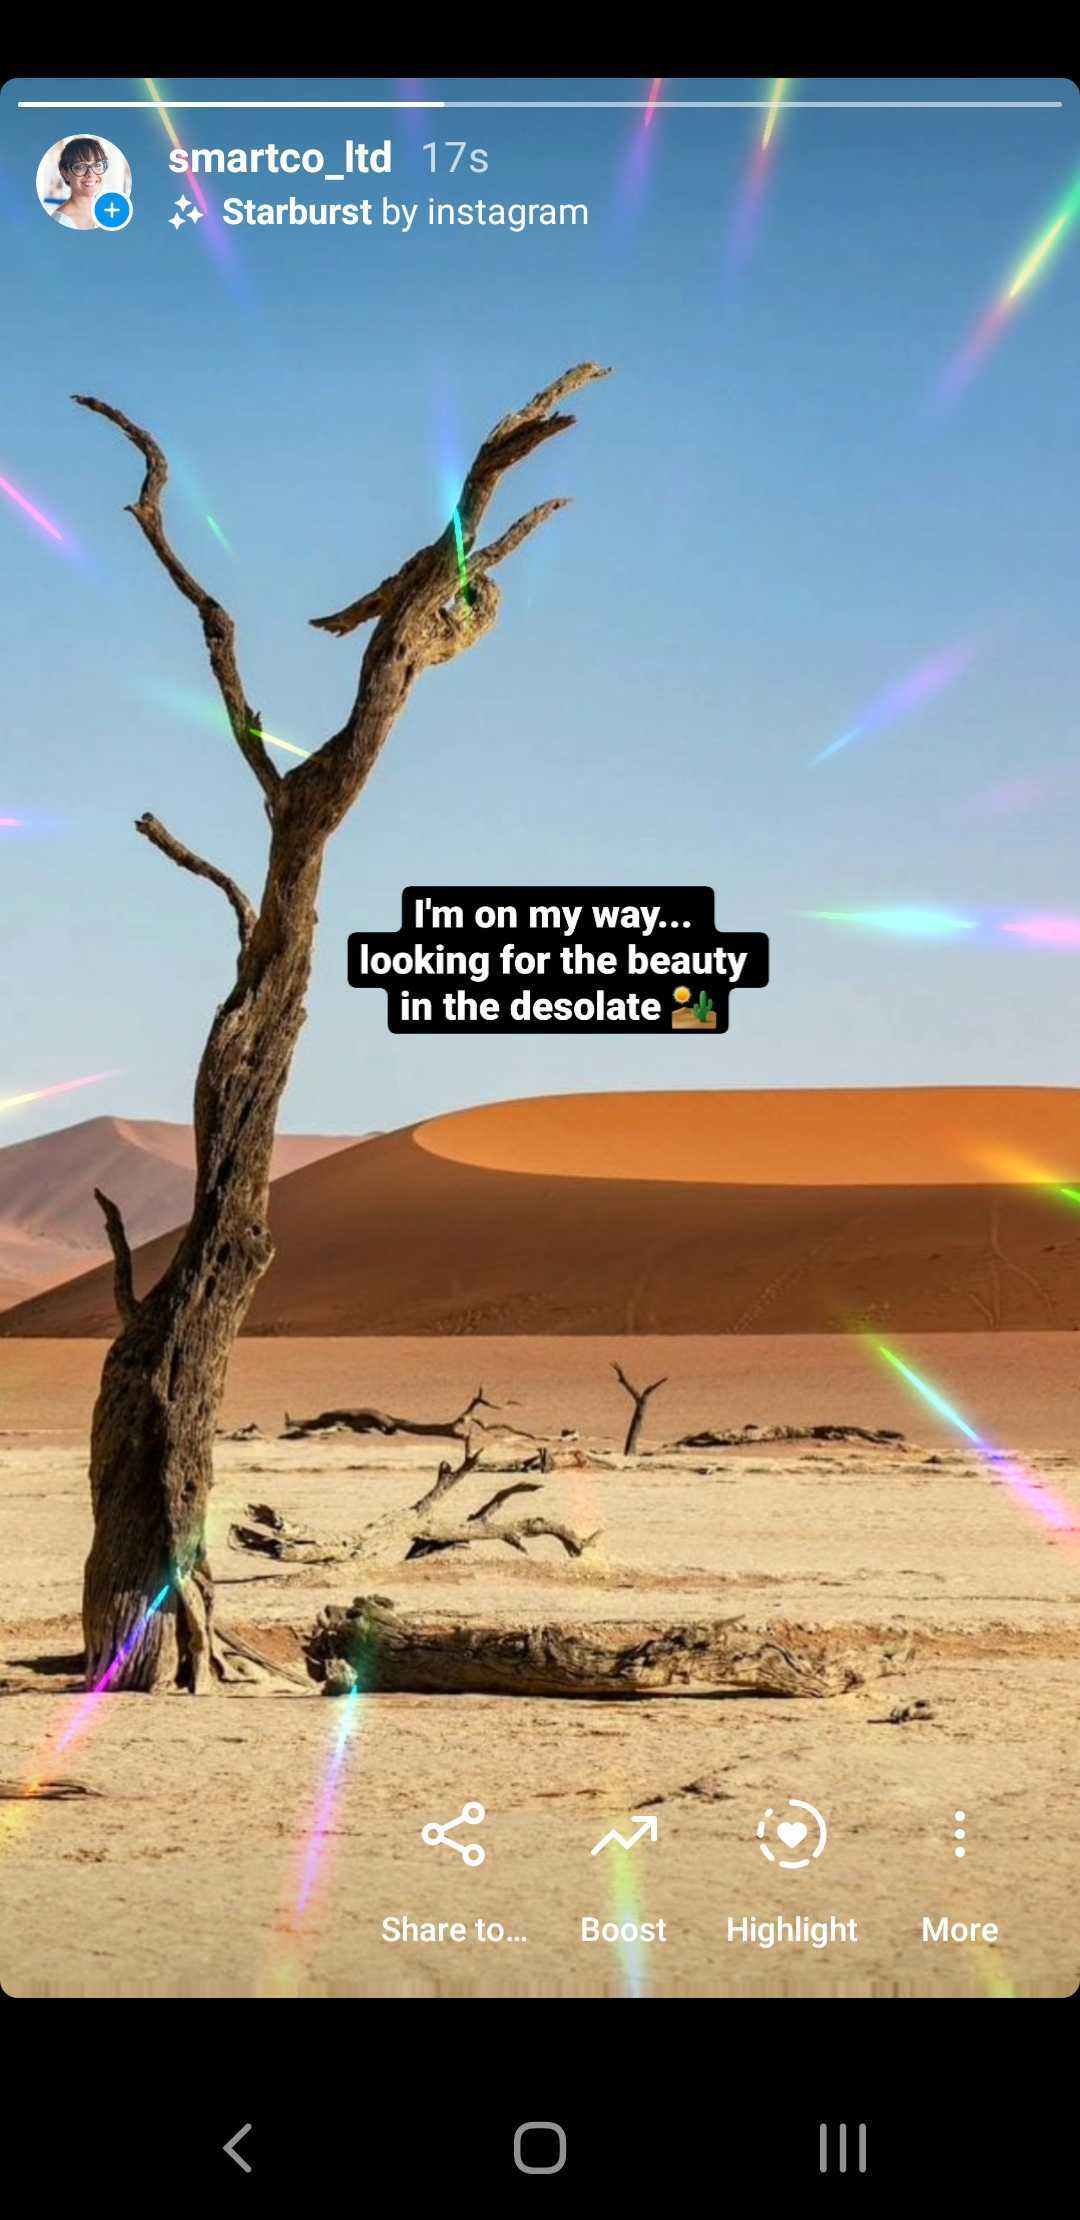
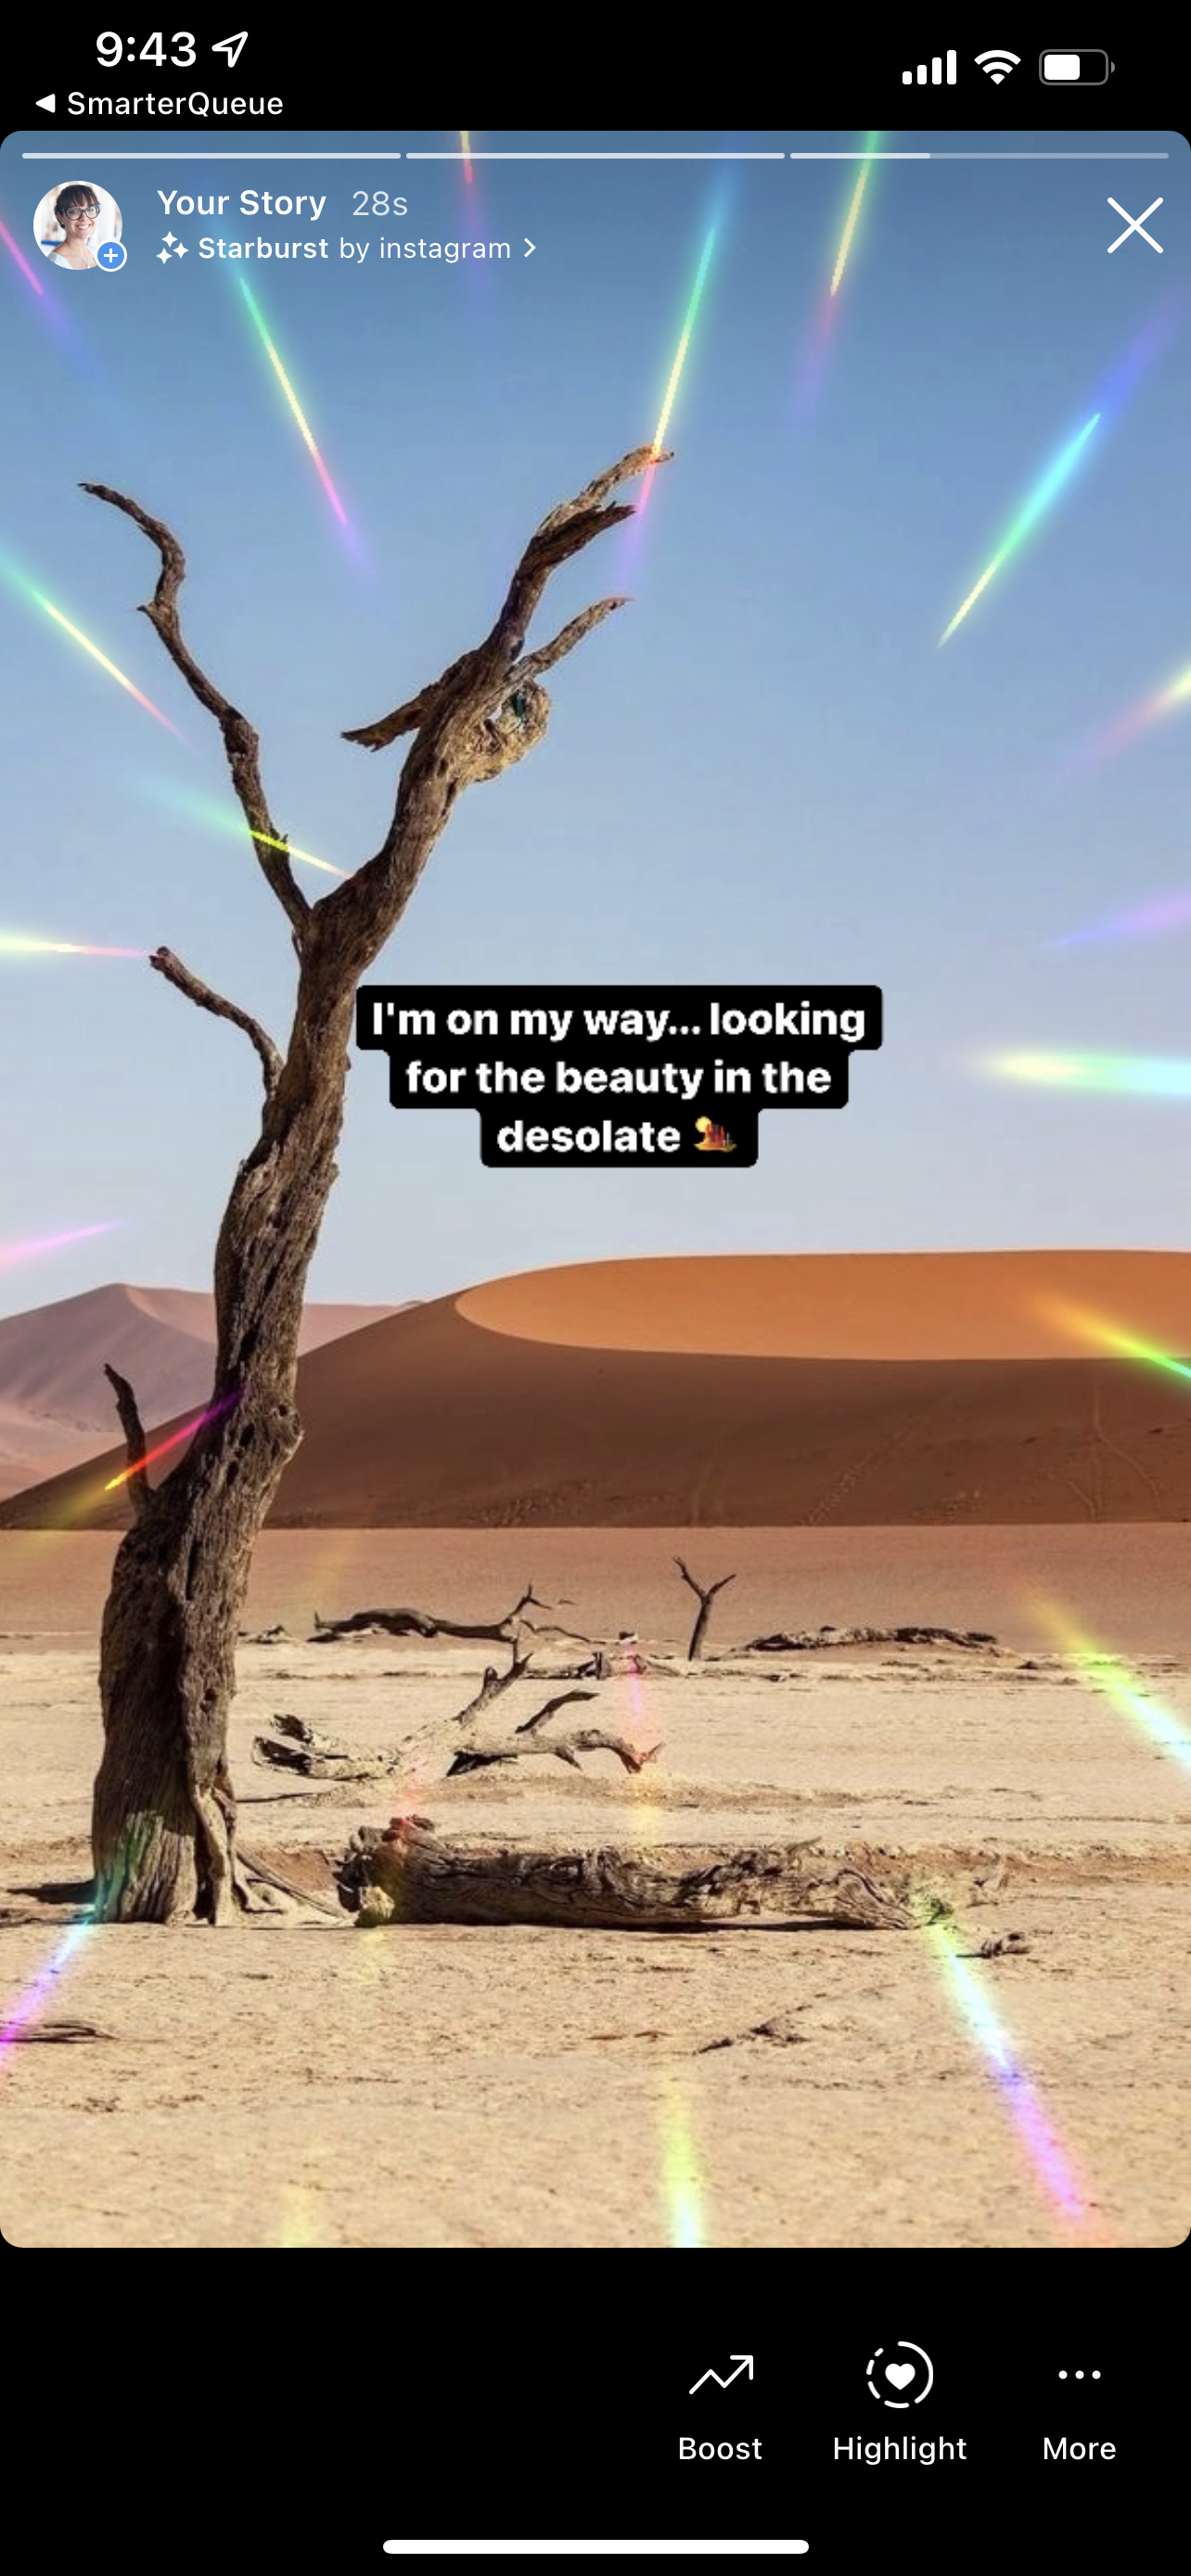
7. Congratulations, your Story post is now live! ✨
How To Publish Your Multi-Image Story Post Via The SmarterQueue Android App
Multi-image Story posts must be published through our quick notification workflow (🔔), so be sure to download the SmarterQueue Mobile App for your Android device, enable notifications, and check the steps below:
1. When it's time to post your Story you'll receive a push notification on your mobile device. Tap it to open the SmarterQueue Mobile App.
Note: You'll want to ensure that you're logged into the Instagram profile you want to publish the post to first.
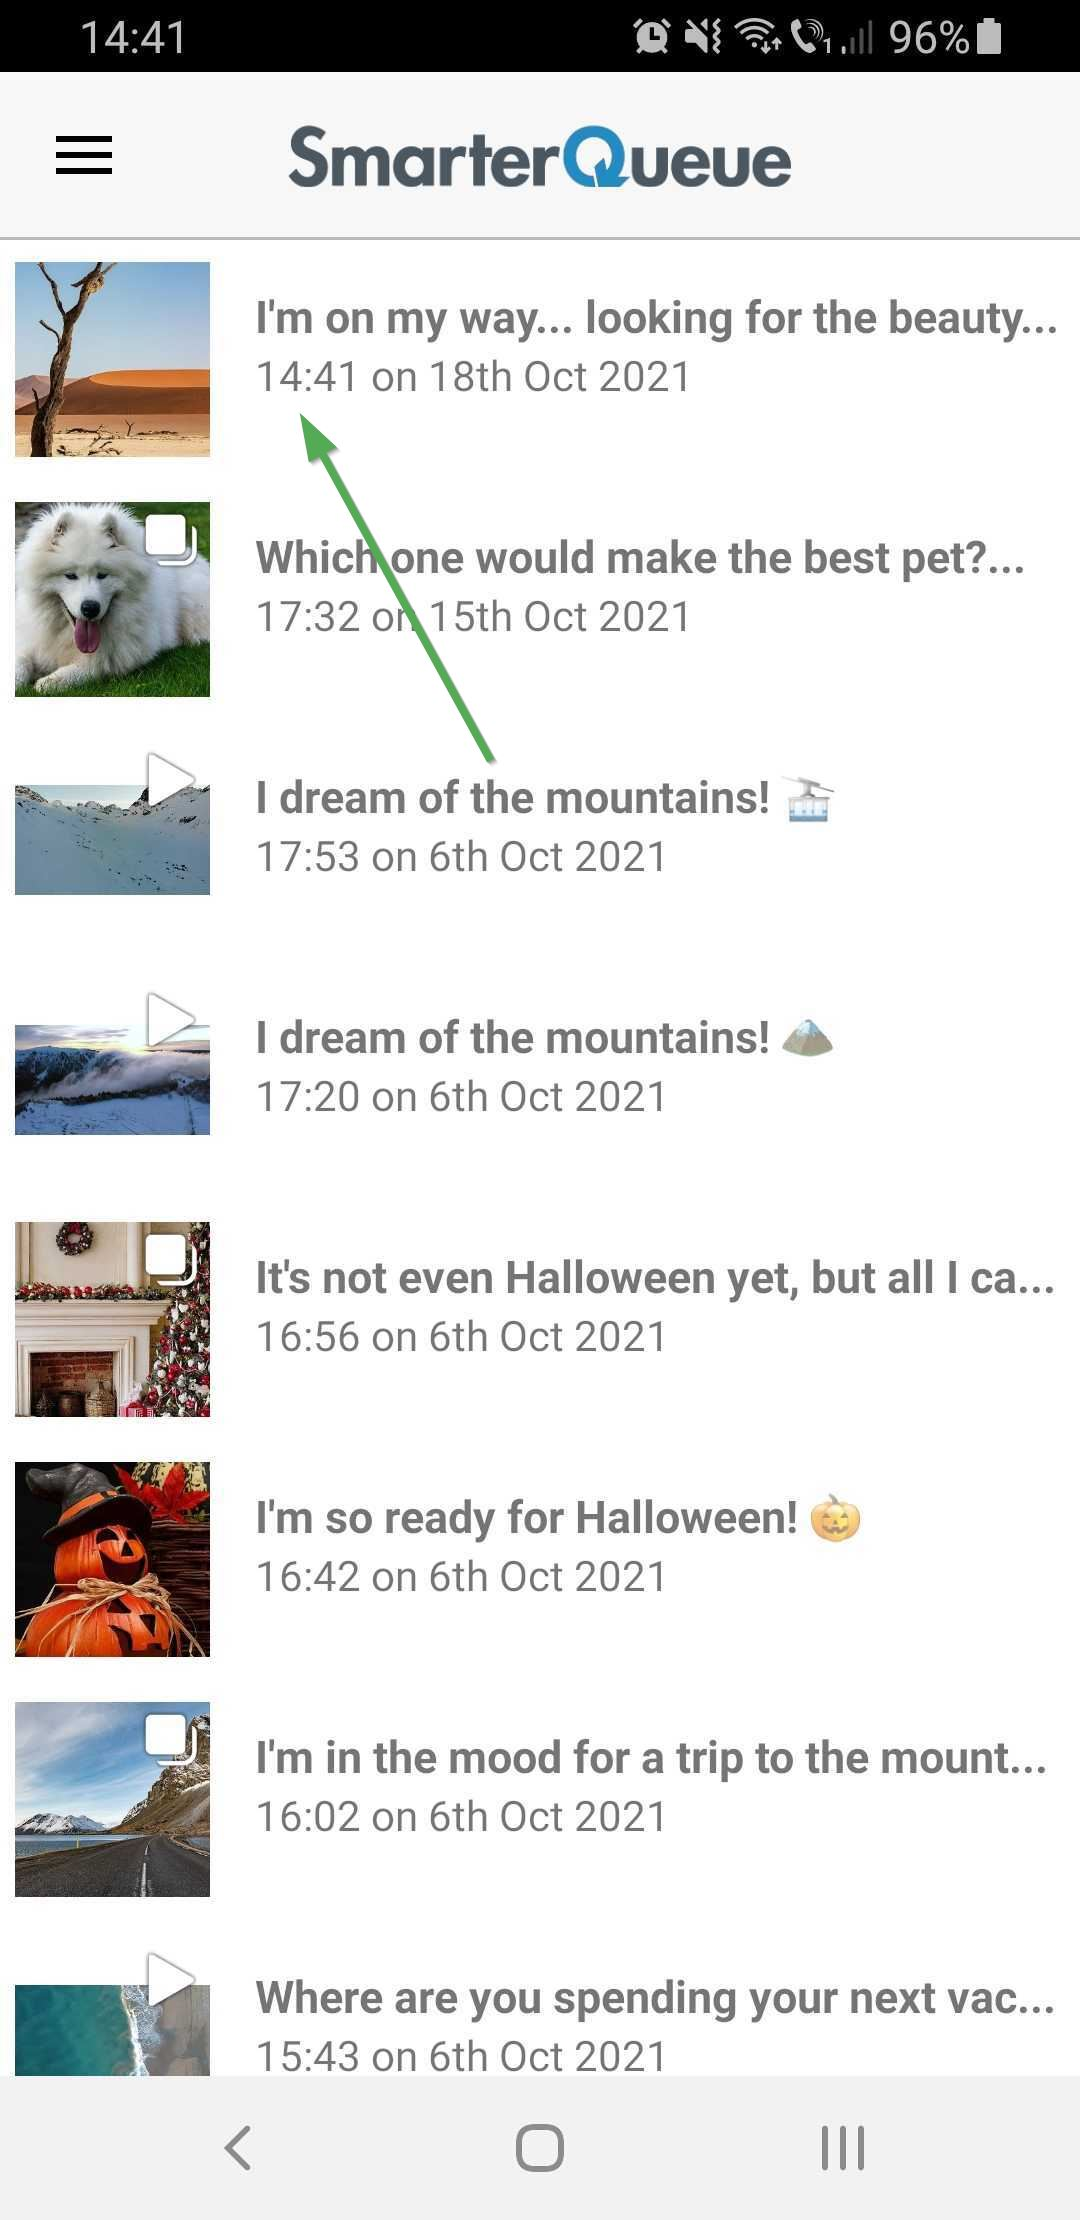
3. You'll see a preview of the images you added to the Story. Tap "Post To Instagram".

Note: Your caption will be copied to the clipboard
4. You'll see all of the images displayed as individual stories and you can use the stories editor to paste your caption back in, and apply any stickers, additional text, filters, or other fun effects before publishing!

Once you're done, publish your Story!
5. Congratulations, your Story post is now live! ✨