📹 Getting Started Creating & Curating Content
Congrats on getting your SmarterQueue account set up and ready to start creating and publishing content! Now that you've added your Profiles, edited your Categories, and set up a Posting Plan, let's dive into how to add posts and content to your Queue 🎉
The great news is, you probably already have hundreds of posts you've already created in the past that can be repurposed as Evergreen content and added to your social strategy! You can also curate amazing content from other sources including blogs and other feeds!
So what does evergreen mean? Evergreen content is anything that isn’t time-specific, meaning you can post it again days or weeks later and still reap the benefits 💪With SmarterQueue, it's easy to mark posts as "Evergreen" so they continue recycling and your Queue never runs dry!
Video Tutorial
In This Article
1. Re-Share Your Best Posts & Curate Top Content
To quickly fill up your new SmarterQueue account with lots of proven content, start by re-sharing your own best posts and curating other top content!
Re-sharing your best posts is a great way to bring proven content to a fresh audience and boost your engagement. With SmarterQueue, you can do this in a few quick steps 💪
2. Select "Re-share your best posts" from the available options
💡 Tip! SmarterQueue also lets you curate content from any Facebook Page! You can search for other accounts, keywords, and more! If you'd like to curate from another source rather than your own Profiles, select "Curate from social media" instead.

3. Click into the search bar to display a dropdown of your connected Social Profiles

Note: Due to Twitter API limitations imposed starting with April 29th, 2023, SmarterQueue can no longer import content from your connected Twitter profiles.
Note: Due to Meta deprecating Facebook Groups API on April 22nd, 2024, SmarterQueue can no longer import content from Facebook Groups.
4. Select the Profile you're interested in and scroll down to view all of the available posts below

The posts will be sorted by top engagement metrics depending on the social platform (for example, the default sorting metric used for Facebook profiles will be Most Liked).
5. To quickly import multiple posts into your Queue at once, toggle on "Bulk".

6. You will then be able to use the Bulk editor to select the Category you want for your posts, and the Social Profiles you will be posting them to, as well as toggle Evergreen Recycling on or off for them.

7. Once you've chosen the setting that should apply to the majority of the posts, you can scroll down and make any changes you want to individual posts.

💡 If you are only interested in selecting a limited number of posts from the fetched content, you can toggle off "Select all/none" and then scroll down to manually select and edit the content you want to share.

8. Once you're done editing, click the blue button at the bottom of your screen to add the selected posts to the bottom of the Queue 💪You're now well on your way to filling up your library of content!

2. Import Your Blog Posts
Next, create hundreds of more posts by importing from your favorite blog and RSS feeds. SmarterQueue lets you import content from blogs, RSS feeds, or YouTube channels and easily automate creating posts and scheduling them to your Queue!
This will allow you to promote the amazing work you've been doing with your blog, website, or YouTube channel, as well as share with your audience relevant work from other great content creators that you follow.

3. Using the search bar, you will be able to search and import content:
- from blogs or websites, by using the blog/website URL - SmarterQueue will be able to identify the RSS feed needed to bring in your articles

- from YouTube Channels or playlists - you'll need to simply use the YouTube URL

4. Once you've found the content you're looking for, you quickly send it to your Queue using the share button

5. You can also import several posts at once by toggling on "Bulk"

6. Finally, automate your imports for your favorite sources and let SmarterQueue create new content for you without any added work! Click on "Save Source"
7. Then select "On" under "Auto-Import"

8. You can now edit the settings for your automatic import to determine:
- Where To Add New Posts (Bottom of Queue, Top Of Queue, Save As Draft, Publish ASAP).
- Category
- Profiles

9. Click save!
Now each time a new article is published to the blog or YouTube channel you've saved, SmarterQueue will automatically pull the link into your account and create a post to share on all of your social feeds!
3. Create New Content
Now that you've curated numerous posts for your Queue, it's time to start creating new content! To learn how to craft a new post of your own, follow these steps:
1. Navigate to the Post Editor by selecting "Create A Post"

- First, pick a Category for your post.

3. Next, select which Social Profile(s) you want to publish your post to by clicking on the Profiles' icons

4. Now, you can write the text you want to share on your post! You can also paste any links you'd like directly into the text box and SmarterQueue will display a link preview 🔗
- We recommend customizing the text for each Social Profile
- Use the "Original" tab in the Text Editor to write your caption, then each individual Social Profile's tab to customize!
- In the example below, we've added #morningmotivation only to our Facebook Page post

5. You can then add media to your post by clicking the camera icon

6. Under Post Timing, choose how you'd like to schedule your post. You can choose between:
- Post Now: Your content will publish immediately
- Add to Queue: Queued posts will be published in order, using timings from your weekly Posting Plan
- Schedule: Manually set one or more dates and times
- Recurring: Set your post to repeat at regular intervals like weekly or yearly

7. Select your Evergreen settings and whether you want the post to recycle, or only post once.

If you choose to recycle your post, you can set a number of times to recycle the post, or add an expiry date.
8. Finally, click "Save Draft" or "Save" and your content will be added to your Queue💪
4. View & Manage Your Queue
Now that you've created and scheduled loads of top-quality content, it's time to take a look and review your Queue 😊
The Queue is a running list of all of the content you've created! Here you can quickly see specifically what you have scheduled and when it will publish, and make any adjustments 💪
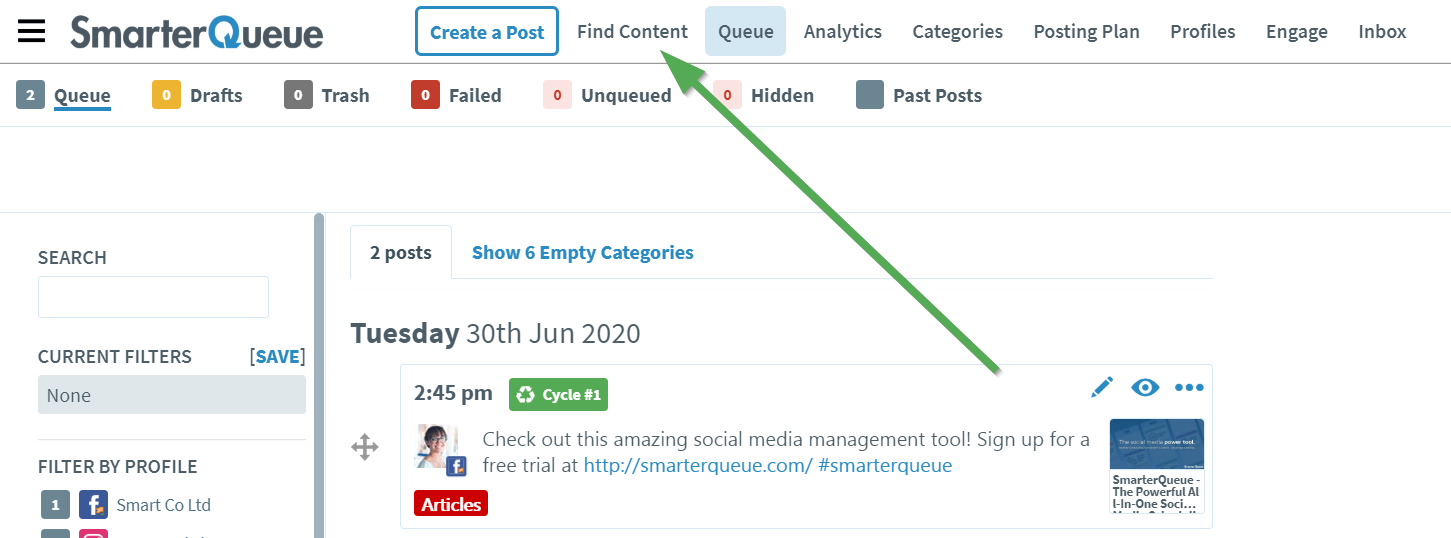
1. Navigate to the Queue in the top of your SmarterQueue dashboard

2. You'll first be greeted by the "List View" of your Queue. This is a list of your posts in the order in which they’ll be shared on your social networks.

The top left of each card shows information about the post, such as the time it will be published, if it will be recycled ( Evergreen), and if there are any warnings. Hover over any of the icons to see more details.

3. Use the buttons in the top right of your Queue to toggle between "Week" and "Month" view for a different overview of your content

4. Choose "Instagram Grid" to view the Visual Instagram Planner and rearrange your Instagram feed more easily!

5. Use the left-hand filter pane inside your Queue to add and remove filters. By filtering your Queue, you can check how many posts you have for each Profile or Category and see more clearly what you have scheduled for each Sub-Queue!

For more detailed information on the Queue, check out these helpful guides:
- What Is The Queue?
- How To Filter Your Queue
- How To View Your Queue By Week & Month
- How To Re-Order & Shuffle Posts In Your Queue
Well done, you're a content-creating machine! 🤖
Now that you've set up your account, created, scheduled, and started publishing your content - let's take a deep dive into Analytics to start optimizing! Head on over to the next guide for a complete walkthrough: